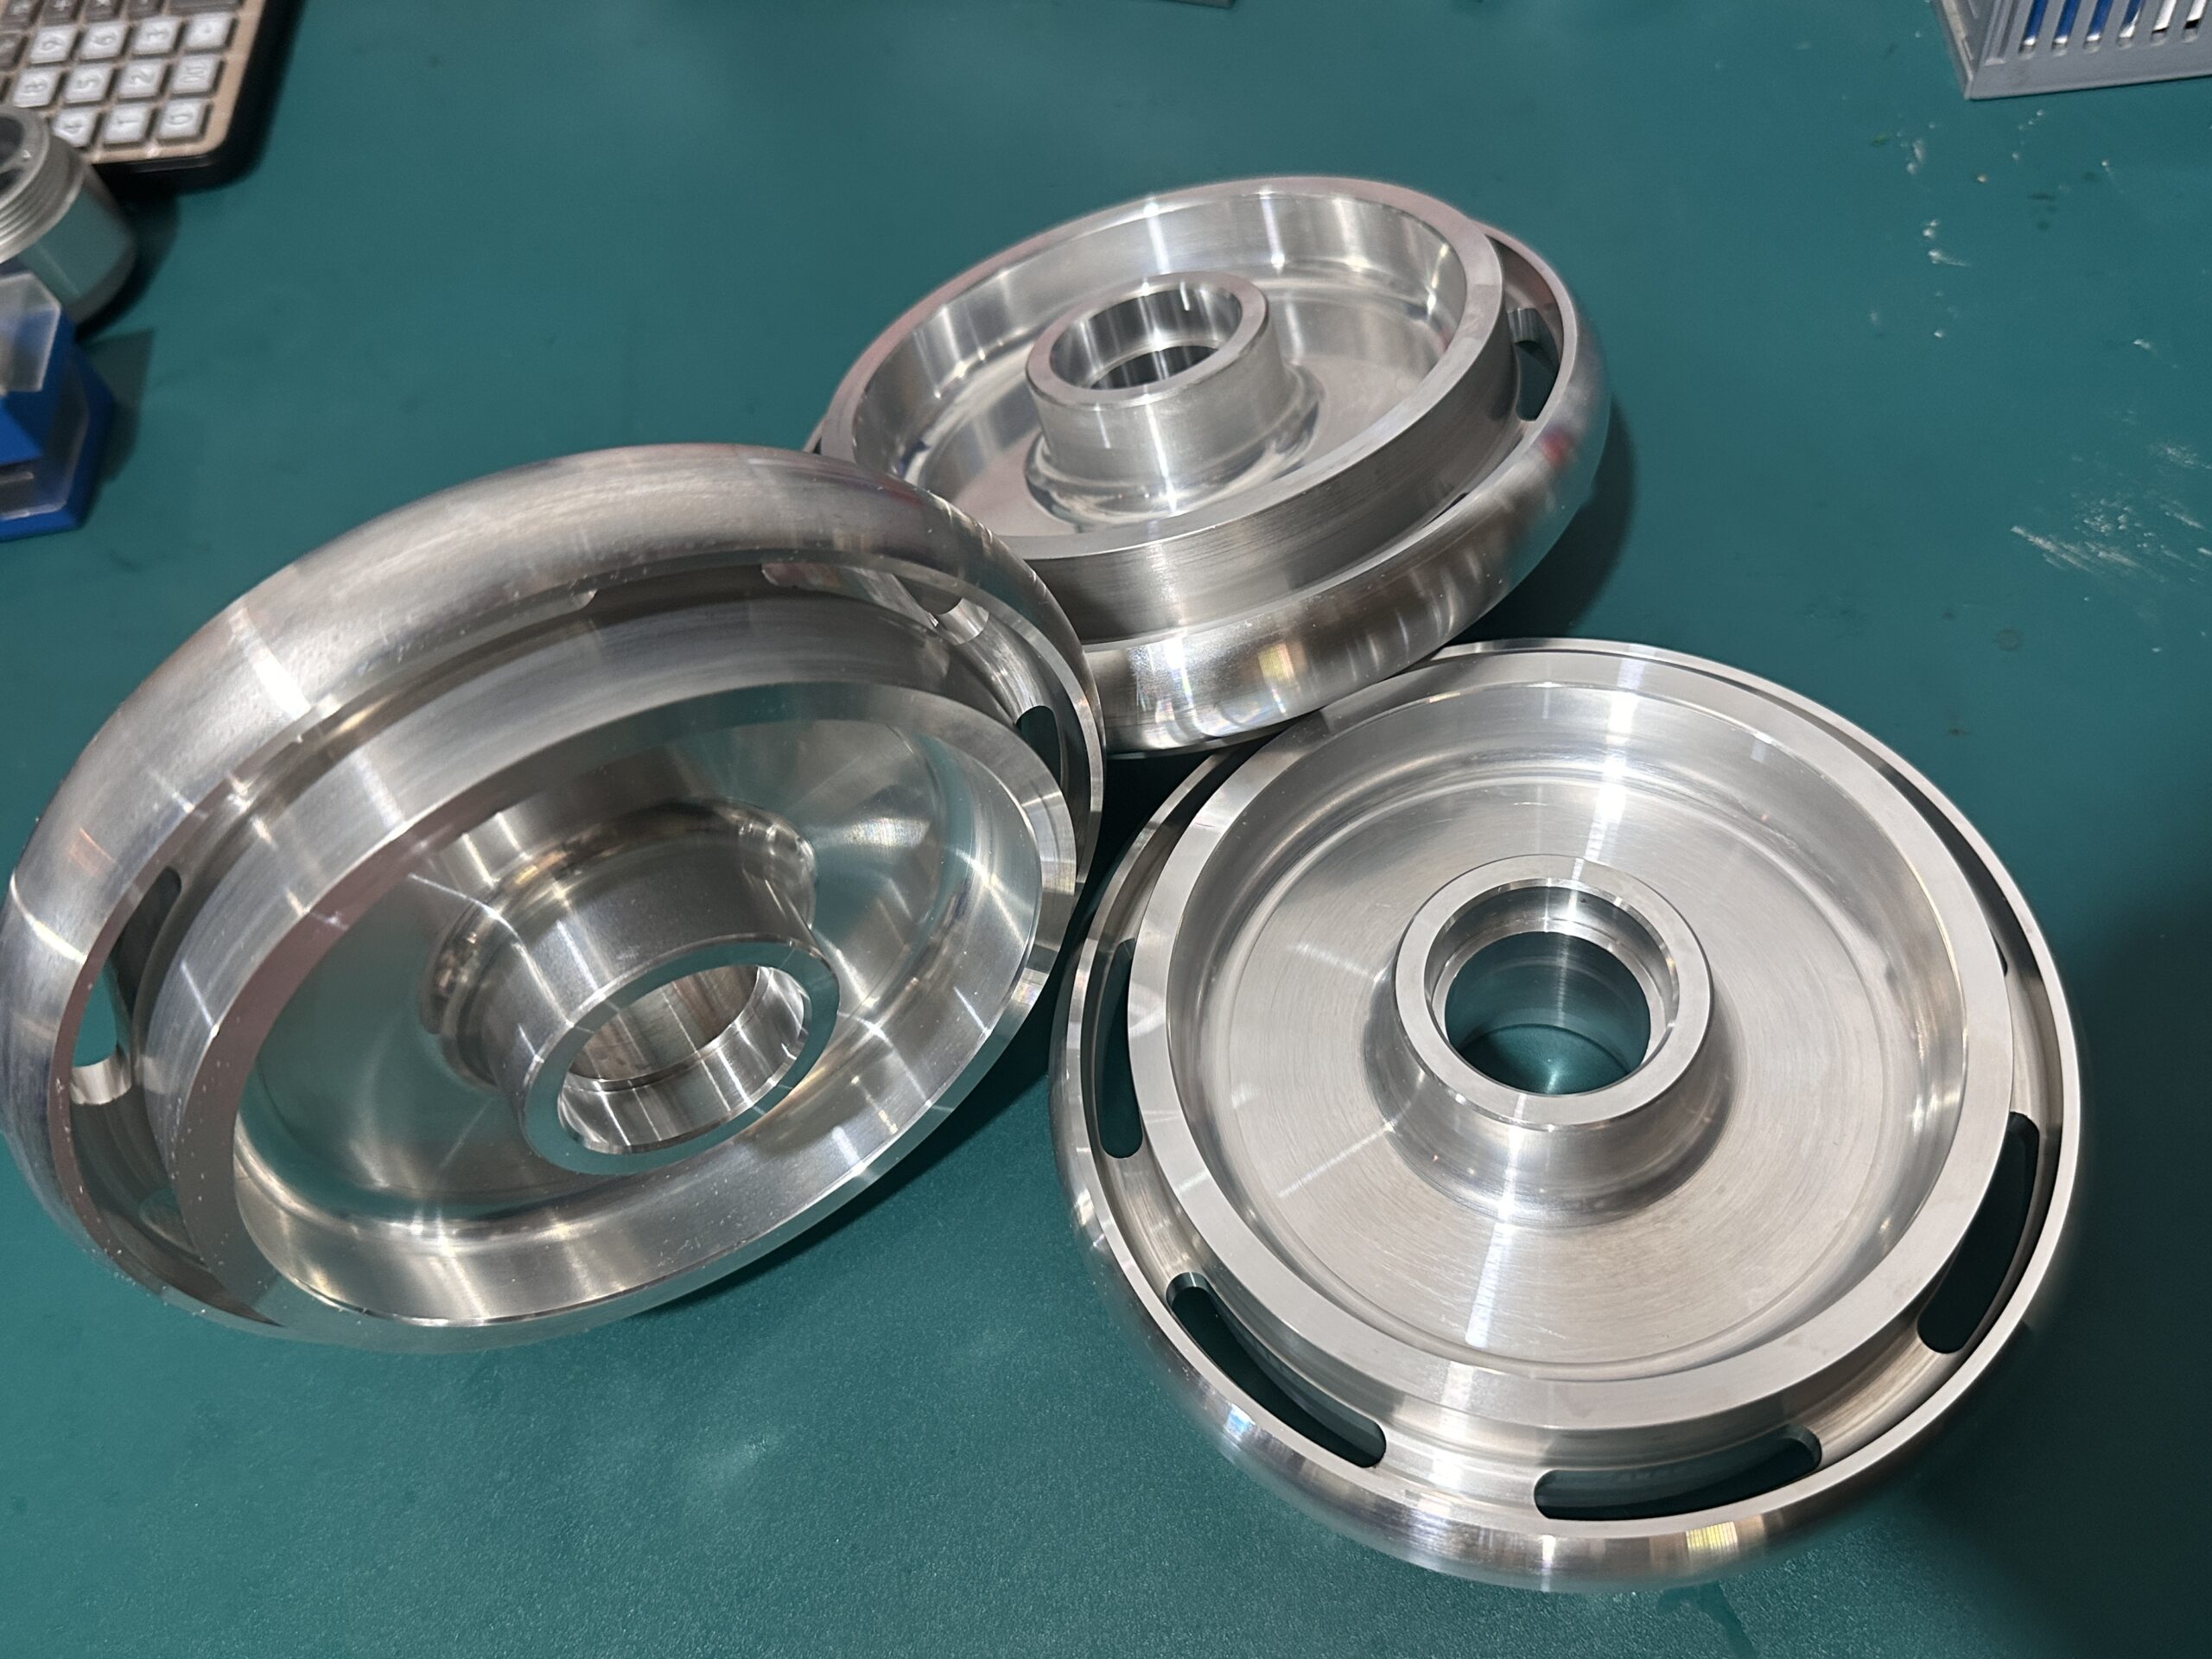
I recall a time when I struggled with scratched parts. I decided to explore the root causes. I found a few strategies that changed my entire workflow.
You can minimize scratches by selecting proper materials, adjusting machining parameters, and using post-finishing techniques, ensuring smoother surfaces and higher-quality results.
Why do scratches occur in CNC machined parts?
I know that many factors cause scratches. I want to explain the root reasons in a simple manner.
Scratches often arise from worn tools 1,improper feeds, poor coolant use, or contaminants on surfaces, leading to friction and unwanted surface damage. Adjusting these factors prevents scratches.
Dive Deeper: Understanding Scratch Formation
I try to break down scratch formation into smaller parts. I consider each factor that influences surface quality.
Tool Condition and Quality
Tools wear down 2. I see dull edges cause more friction. This friction leaves scratches. If I pick high-quality carbide or coated tools, I reduce friction. I also replace tools before they dull completely.
| Factor | Impact on Scratches | How to Improve |
|---|---|---|
| Tool Wear | High | Regular tool changes |
| Tool Material | Medium | Use coated carbide |
| Tool Geometry | Medium | Choose proper angles |
Feed Rate and Surface Finish
Feed rate affects surface finish. If I feed too fast, I leave deeper tool marks. If I feed too slow, I generate heat and potentially more friction. I must find a balance.
| Feed Rate Setting | Effect on Scratches |
|---|---|
| Too Fast | Deeper marks |
| Too Slow | Excess heat, micro-scratches |
| Optimal | Smooth, minimal scratches |
Coolants and Lubrication
Coolants flush away chips and reduce friction. Without proper coolant, chips drag across surfaces. This creates scratches. I always ensure stable coolant flow.
| Coolant Factor | Result |
|---|---|
| Proper Flow | Less friction |
| Inadequate Flow | More scratches |
| Correct Type | Smoother finish |
When I first adjusted my coolant flow, I saw fewer scratches. It was simple but effective.
How can material selection reduce scratches?
I consider what material I should choose. Materials differ in hardness and ductility. I want something that resists scratching.
Selecting materials with higher hardness 3, better toughness, and stable microstructures 4 reduces the risk of scratching. By choosing more scratch-resistant alloys or coatings, I achieve smoother finishes.
Dive Deeper: Material Properties and Scratch Resistance
I study how different metals and plastics behave under cutting forces. I learn that softer metals scratch more easily. Certain alloys have surface properties that resist marks.
Hardness and Surface Integrity
Harder materials resist tool pressure. They deform less, leaving fewer scratches. For example, using a tempered steel might yield a better surface than a very soft aluminum, assuming I adjust parameters properly.
| Material | Relative Scratch Resistance | Notes |
|---|---|---|
| Hardened Steel | High | Good for precision |
| Aluminum Alloy | Medium | Easy to machine |
| Soft Plastics | Low | Prone to scratches |
Coated Materials
Sometimes I apply coatings to improve surface hardness. Thin layers like DLC (Diamond-Like Carbon) enhance scratch resistance. I find these coatings help me meet tough requirements for medical or aerospace parts.
| Coating Type | Benefit |
|---|---|
| DLC | Very hard surface |
| TiN | Enhanced hardness |
| CrN | Good wear resistance |
Balancing Material Cost and Performance
I must consider cost. Harder materials or coated surfaces might be pricier. But they can reduce finishing steps. I weigh these factors to find a good balance.
When I switched to a slightly harder alloy for a medical device component, scratches dropped significantly. I saved time on post-processing. The initial cost was higher, but total cost decreased.
Which machining parameters help optimize scratch-free surfaces?
I know that machining parameters directly influence surface finish. I must set feeds, speeds, and depths 5 carefully.
Optimizing feed rates, spindle speeds, and depth of cuts can reduce friction, minimize chip dragging, and deliver smoother surfaces. Adjusting these settings for each material yields fewer scratches.
Dive Deeper: Finding the Right Parameters
I spend time testing parameters. I adjust my feeds and speeds until I see fewer scratches. Each material and tool combination might need different values.
Spindle Speed and Heat Management
High spindle speed can generate heat 6. Excessive heat softens some materials, increasing scratch risk. Lower speeds might reduce heat, but too low might tear material fibers. I find a sweet spot.
| Parameter | Effect on Scratches |
|---|---|
| High Speed | More heat, potential marks |
| Low Speed | Less heat, but risk of tearing |
| Optimal Speed | Smooth cutting action |
Depth of Cut
Deep cuts strain tools. Heavy loads mean more friction. Shallower passes produce finer finishes. But more passes mean longer cycle times. I must balance productivity and surface quality.
| Depth Setting | Result on Surface |
|---|---|
| Too Deep | More force, scratches |
| Too Shallow | Longer time, but smooth |
| Moderate Depth | Efficient, clean finish |
Tool Path Strategies
Tool path patterns affect how chips form and evacuate. Climb milling often gives smoother results compared to conventional milling. I try different patterns to find minimal scratch strategies.
| Tool Path | Potential Outcome |
|---|---|
| Climb Milling | Reduced friction |
| Conventional | Possibly more scratches |
| Zig-Zag | Varies by material |
I once switched from conventional milling to climb milling for a precision aluminum component. The difference in surface quality was immediate. Scratches nearly vanished.
How do post-machining techniques minimize scratches?
I consider processes after machining. Finishing steps can remove or reduce any minor scratches that appear during cutting.
Using polishing, deburring, or chemical finishing can remove residual marks, producing a cleaner surface. Such post-processes help ensure each part meets quality standards.
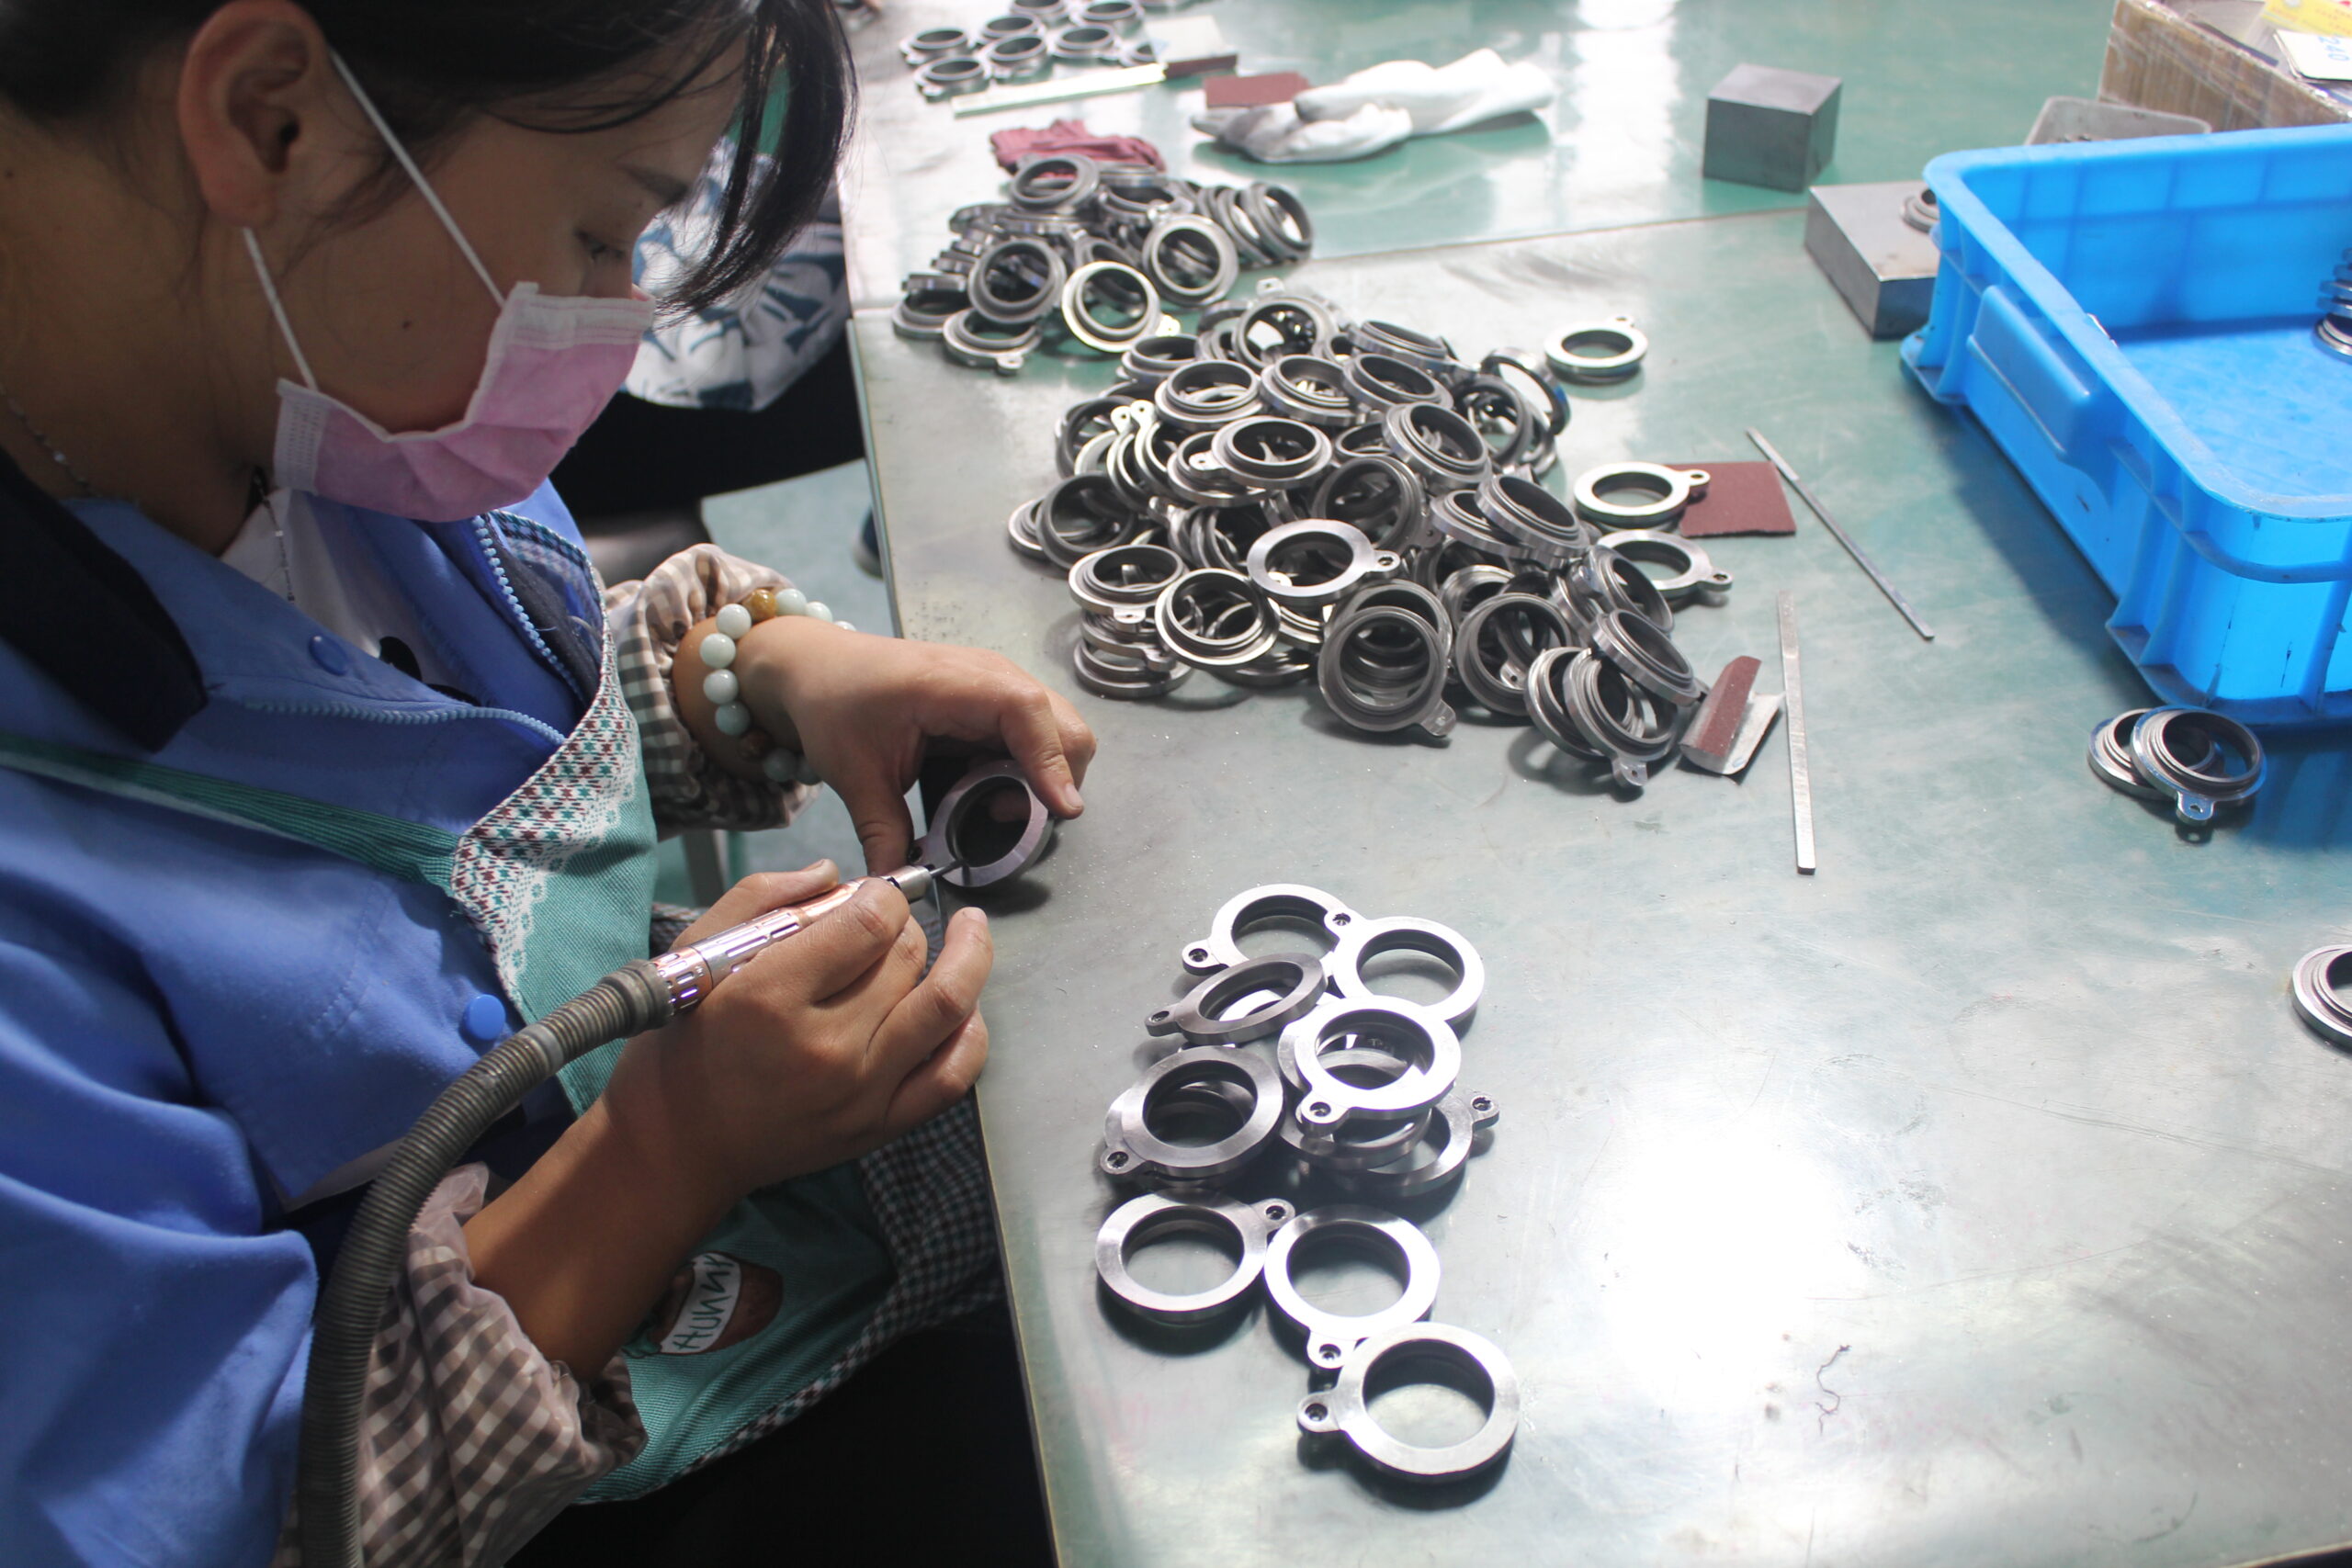
Dive Deeper: Post-Machining Finishing Methods
I know that even with careful machining, some fine scratches may remain. Post-processing offers another layer of refinement.
Polishing and Buffing
Polishing uses abrasives to smooth surfaces. I apply fine grits to remove micro-scratches. Buffing with a soft wheel can produce mirror-like finishes on metals. Though time-consuming, it elevates final appearance.
| Polishing Step | Result |
|---|---|
| Coarse Grit | Remove larger marks |
| Medium Grit | Smooth the surface |
| Fine Grit | Achieve near-mirror finish |
Deburring and Edge Treatment
Burrs cause scratches if they break off and drag across surfaces. Deburring tools, brushes, or tumbling media remove these sharp edges. Without burrs, I reduce the chance of scratches during handling.
| Deburring Method | Benefit |
|---|---|
| Hand Deburring | Precise, slow |
| Vibratory Tumble | Fast, consistent |
| Brush Deburring | Automated |
Chemical Treatments
Some chemical baths can smooth surfaces at a microscopic level. Electropolishing removes a thin layer of metal, evening out peaks and valleys. This leaves fewer places for scratches to form or linger.
| Method | Effect |
|---|---|
| Electropolishing | Smooth, uniform surface |
| Chemical Etching | Removes micro-burrs |
I once took a batch of steel parts and ran them through a vibratory tumbler. The rough edges vanished, and overall surface became smoother. After final polishing, the parts impressed my clients.
What are the best ways to handle and package CNC parts to prevent scratches?
I remember times when I produced perfect parts, only for scratches to appear during shipping. Proper handling and packaging matter.
Using soft, non-abrasive packaging materials, separate compartments, and careful handling techniques can prevent new scratches. Gentle cleaning before packing also helps maintain pristine surfaces.

Dive Deeper: Handling and Packaging Strategies
I treat finished parts like delicate objects. Even hard metals scratch if rubbed against each other or abrasive materials.
Protective Wrappings
I use foam sheets, bubble wrap, or soft cloth to separate parts. If parts contact each other, friction can cause scratches. I ensure each part has its own cushioned space.
| Material | Benefit |
|---|---|
| Foam Wrap | Gentle protection |
| Bubble Wrap | Shock absorption |
| Soft Cloth | Prevents abrasion |
Cleaning Before Packaging
Dust or metal particles trapped between parts cause scratches in transit. I gently clean parts with a lint-free cloth or compressed air. Clean surfaces mean fewer opportunities for damage.
| Cleaning Method | Outcome |
|---|---|
| Lint-Free Cloth | No abrasive dust |
| Compressed Air | Removes tiny chips |
Avoiding Stacking
Stacking parts directly on top of each other invites scratches. I use dividers or trays. Each part rests in its own nest, reducing movement and friction.
| Method | Result |
|---|---|
| Individual Slots | Zero contact |
| Layered Trays | Minimal friction |
| Separated Bins | Isolated parts |
When I started using custom foam inserts for my precision components, returns due to scratches dropped. Clients noticed the difference. They praised my careful packaging methods.
Conclusion
I reduce scratches by controlling the machining environment, choosing better materials, fine-tuning parameters, applying finishing methods, and ensuring careful handling. Each step prevents new marks and improves final surface quality.
-
Explains the impact of worn tools on surface quality, helping users understand why maintenance is crucial. ↩
-
Learn about the Signs of a Worn-Out CNC Machining Tool ↩
-
Explains how material hardness affects scratch resistance and improves surface quality. ↩
-
Learn how Material microstructure affects machining. ↩
-
Provides insights into optimal machining settings about feed rate, cutting speed and depth parameters. ↩
-
Discusses the role of spindle speed in heat generation and its impact on machining outcomes. ↩

